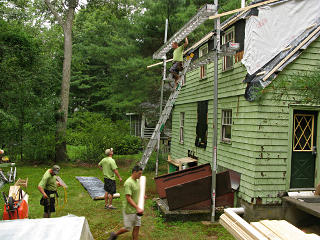
House energy retrofit project 09

    Day 2

I was already pretty day-shifted and getting up fairly early in the morning, and today I'd have to be up and coffeed and have things open before the crew arrived sometime around 7AM. Part of the morning ceremony was applying DEET so I could be outside without getting sucked dry by the mosquitoes. This pretty much became the daily routine for the next few weeks.


[Click any image for a larger version.]
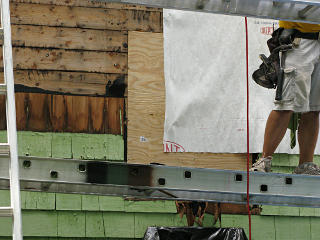
Crew arrives, day 2 They started eyeballing the rear wall, hoping to work around toward it and get most if not all of it stripped over the course of the day.

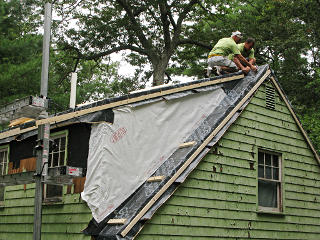
Roof grace gets finished First order of business, however, was to get the rest of the roof Graced up especially since the day held a significant threat of rain.

Assembling pump jack Because of that I got the idea to dig out my pop-up canopy and set it up for the guys that morning, so they'd have somewhere drier to stash their personal stuff and to hang out if it did start spitting.

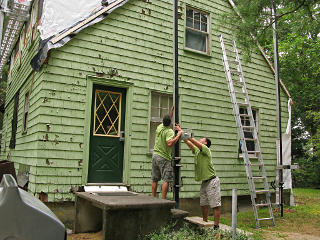
They needed to put up more scaffolding, and sometimes the pumps are a little fiddly to assemble and install onto the poles...


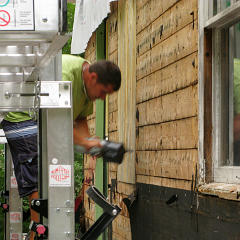
Positioning pump pole against house Once a pole and its pump are together it's not that hard to wrangle the set into position, and once someone up top screws in the bracket it's quite solid.

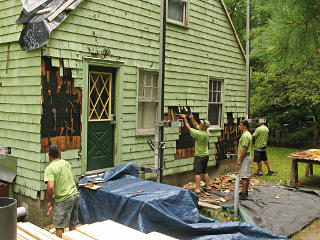
Ripping east wall They tore into the east wall with great enthusiasm, having a ball making a mess for a while.

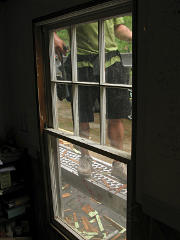
The doomed kitchen window This kitchen window was the other one I was losing, and someone had scrawled its death sentence on the glass. I had already pulled most of the interior casing.

Gaps around window with casing gone With the trim gone, there were obvious gaps and thus air leaks around the frame -- this was pretty much true of all the windows, they'd never received any caulk or tape or stuffing in the original construction.

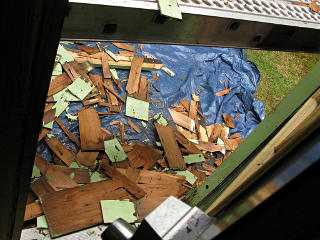
Debris all over side stoop Next time I opened the side door I beheld this. Hmm, I think I'll go out the basement or something.

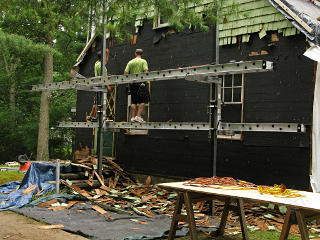
Working the east wall That was because they were making pretty good progress on not only the east wall ...

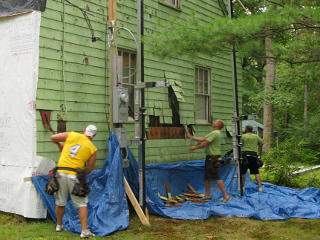
Working the west wall ... but also getting going on the west one.

The sounds of this inside the house were amazing -- nonstop thumping and banging and tearing like one of those old Hitchcock thrillers where the Unknown Thing outside is doing its best to force its way into the house. From the outside, it sounded like this, (mp3, 442K) recorded a little later at this same west wall.


Pulling more roof trim They worked up until it made sense to get up on the scaffolds to continue, so that's when they dropped on the work-planks and started pumping their way up. For some reason the walkboards are called "picks", nobody knew why. These are 24 feet long, just about the perfect length for working on my fairly small-footprint house.

Rain coming in If you heard the comment about rain at the end of the sound sample, it was dead-on because the weather-radar showed a sizeable batch of crap coming toward us.

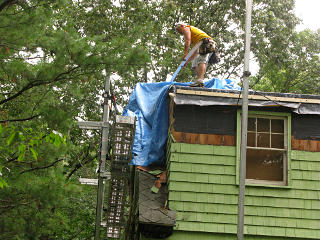
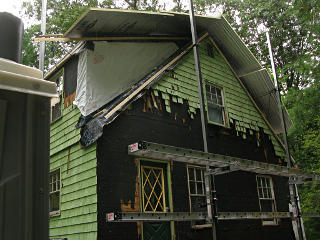
Tarping down They quickly tarped up enough of the west wall and gable to keep things dry while the rain passed.

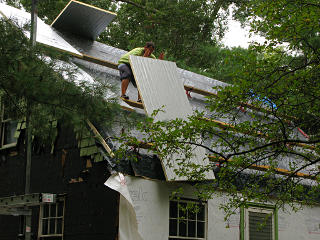
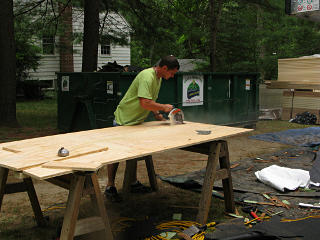
Passing foam up On the east end, the guy working that side had an idea. "Throw me up some foam!" he called down.

Quick-n-dirty rain hood from foam board With a few pieces of polyiso and some screws he threw together a quick-n-dirty rain hood for that whole end of the house.

Waiting out the rain They had moved my canopy over the work table, and it was indeed a handy place to keep their personal gear and wait out the fairly brief patch of rain, maybe all of half an hour. Frequent checks on the smartphones told them that it would pass soon -- there's one really useful thing having "the internet in your pants" can do for someone trying to plan outdoor activity.

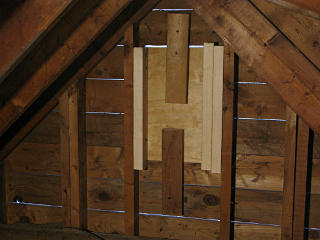
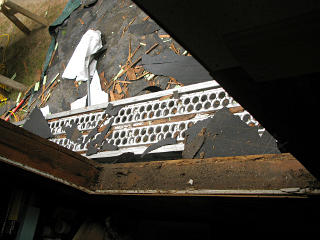
Gable vent fan and thermostat As everyone got back to work, I realized that they were reaching up near the attic gable vent and that maybe I should get my own crap out of the way. For several years I had run this rig with a box fan and a thermostat, which would start trying to move more air through the attic when it got hot.

Gable vent, soon to go away With one of these vents at each end and the fan pulling air through, it had helped a little on sunny summer days with the downside that the house probably came under slight negative pressure and encouraged more humid outdoor air to leak into the basement. Whatever; academic now. I wouldn't be needing this anymore as the attic was about to get completely sealed up. It wasn't clear what anyone expected of these gable vents in the first place, because the soffits along front and back were completely unvented so there was nowhere for make-up air to come in. They had apparently provided a home for a few wasps over the years.

Gable vent gets pulled open Builder's head pops up
Similar gaps between the planks here, all by design. The old structure probably relied on the covering tarpaper to stop most of the air leaks, but it certainly wasn't sealed. I often wondered why the house seemed as tight as it did pre-retrofit, with all the potential holes it had everywhere.

I stuck around up there for a little while longer, and soon enough the vent piece got torn off and replaced with our hard-working builder's smiling countenance.


Looking into gable He had pretty much finished stripping the wall, still working under his foam rain hat. Now it was time to frame in the vent hole.

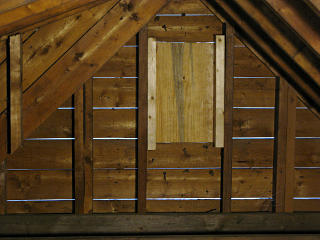
Gable vent hole framed in He made quick work of that, calling down for a bit of plywood and a couple of two-by backer pieces to be cut and passed up.

Overkill framing He also used some of my scraps that used to support the fan, for a somewhat overkill attachment solution.

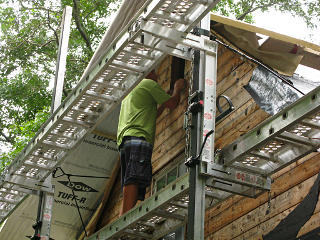
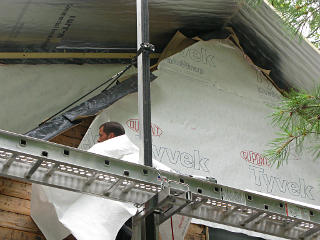
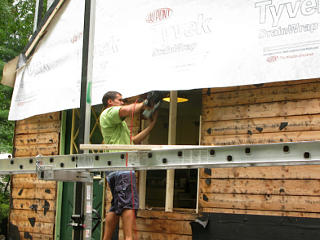
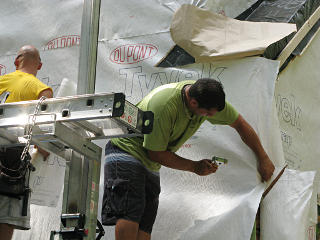
Housewrapping around gable Next came the Tyvek layer, which kept trying to wrap itself around him.

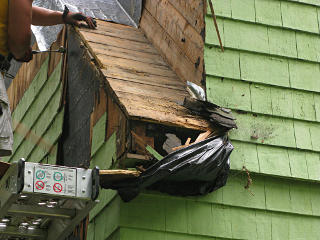
Beehaven finally gets destroyed On the other side, "beehaven" and the plastic bag I'd wrapped around that end of the wing-wall return had been pretty much destroyed.

Wing-wall return gets flattened Soon afterward, it had been flattened in the same fashion as the other parts of the roofline. It would get boxed in, leaving the little strip of roof deck.

Again, I had considered building out the shed dormer one more rafter-width at either end to simplify the whole shape into more like a saltbox, but decided against the deeper structural work required. It wouldn't gain me that much interior space. Nonetheless, I felt mildly bad for the builders and roofers whenever they had to deal with these areas in some special way.


West gable vent framed in The guys on the west wall eventually reached the top and dealt with their gable vent in a similar way, throwing a little less wood at the problem.

Kitchen window gone Back downstairs, the kitchen window had already been yanked out and heaved into the dumpster, incredibly landing unbroken.

Kitchen window water damage I hopped up on the dumpster to have a closer look at it. Almost all the old windows and trim showed signs of water issues, especially at lower corners, and here I could see where parts had clearly been long-term damp. I was glad I'd decided to swap out all the remaining windows for modern units, rather than try to save these and mess around with storms and trying to air-seal old crappy wood.

Framing in kitchen window opening It was a fairly simple matter to add some new framing members to the rough opening, more or less matching the surrounding studs.

Plywood for kitchen-window fill A slab of plywood was appropriately cut ...

Kitchen window filler applied ... and nailgunned into place. Done, no more window.

Kitchen window now a wall They made it look so easy ... on the other hand, it would be up to me to deal with turning this back into a wall on the *inside*. But I wouldn't have to worry about insulating any of it!

Additional HVAC protection They were about to start ripping more on the rear wall by now, and I spotted a couple of hitherto-unused wood assemblies that I figured could protect the HVAC lineset and vent pipe a little better underneath as their temporary hutch didn't quite cover that far.

Starting on the rear On top of that, they tarped off the entire run of the back before attacking the siding.

Anatomy of siding bump-out Finally, the construction of that little bump-out across the back was revealed -- nothing more than a strip nailed on to push one row of shakes out a little bit. The PM had asked me a while back if I wanted to try and preserve some element of that look, or even add a little mini-roof running across -- nope, the whole idea was to *simplify* where possible.

Ripping the rear Rip-n-tear proceeded apace on the back, the guy with the barrel frantically trying to keep up by hauling load after load to the dumpster. Despite being mostly solo on this task, to his hard-working credit he pretty much singlehandedly filled the dumpster by himself that day.

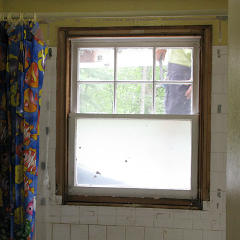
Bathroom window de-cased In preparation for the bathroom window going away, I had finished un-casing it a night or two previously and it was just about ready to fall out.

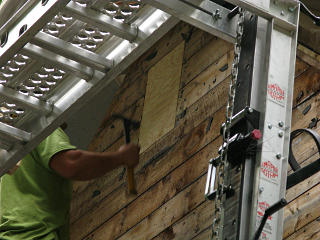
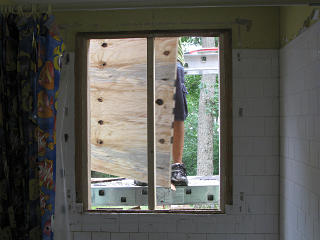
Framing up bathroom window opening Same deal here -- new framing added. The center piece was cut a little oversize, and needed a bit of enthusiastic whacking with a hammer to get straight. "This," someone on the crew observed, "is why they call it ROUGH framing!" With it wedged in nice and tight before nailing, it would also help carry any loads above the window-opening header.

Plywood for bathroom window hole Bathroom window framed in
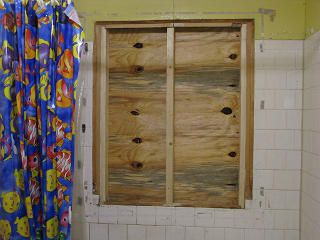
And in came the cut ply piece, and there was no more window.

Bathroom window becomes a wall As soon as that was in, it too became part of the wall getting Tyveked over.

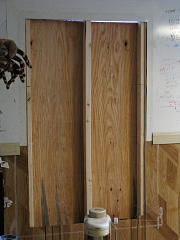
Hey, that's where I sleep! It was funny to be sitting for a short time at the desk just inside that window where *my bed* also is, with a guy in the process of ripping its trim off. "Hey, that's where I sleep!"

I think I had made it fairly clear to everyone by this point that just about anything they were doing didn't bother me in the slighest and that I was having a ball tracking the progress of all this. Here they were tearing my house apart, and I was running around going "this is awesome!"


Tacking down housewrap It was nearing the end of the workday again, and they finished applying and tacking down more housewrap on the back, making sure the I&W was properly down over it, and cleaned up.

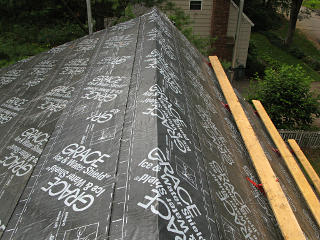
Old roof fully graced Hail rooftop, full of Grace.

Between this and the housewrap, that was now my weather envelope.


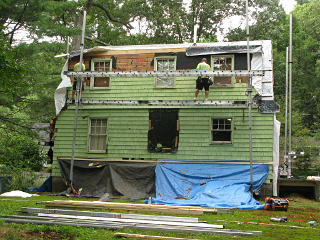
A white cube And here's how it looked after the second day of rip-n-tear, a windowless white igloo. With minor delays from rain and the extra framing, they hadn't quite finished the rear wall but the rest wouldn't take long. The important thing was to get everything watertight, be it with Grace, housewrap, or original siding, as more rain was predicted over the next couple of days.

    Weekend

Second dumpster full Dumpster swap again
For that reason, they didn't come back the next day as they generally don't want to lay a house open and weather-vulnerable in rain even for a short time. So they got that Friday off.

Into the weekend the weather cleared, and the dumpster company came to swap out the second full load. At this point, much of my "green monster" had gone into their green monster.


Finding lots of nails on ground Over the weekend I figured I didn't have to squeeze my car way over toward the far trees and could bring it in to my normal parking place, but I wanted to check the ground all around there for nails first. The builders' magnetic pickup wand was pretty wimpy and didn't collect a lot of the stuff, and as we see here it was easy for the old nails to camouflage themselves in the grass. A magnet I had from a worklight attachment or something seemed to be quite a bit stronger, albeit over a smaller area.

Magnetic nail pick-up For easier use I attached it to the grass-whip so I could just gently swing it around, and thus found more nails than the guys had picked up. Their running joke on daily site cleanup was how once everybody thought they were done picking up nails, the job foreman would tell everyone "okay, now find two more nails". And they often did.

Fortunately, there weren't any tire incidents for anyone's vehicles over the course of the project. Or foot incidents for me, perhaps because I had shoes on over the first few days. Better part of valor and all that.. Nails on the ground tend to lie flat and are actually less of a hazard than one might think, but there always might be that one sticking upward -- that, really, with the wrong direction of contact could penetrate a sneaker sole or car tire or bare foot alike.


Holes to daylight through roof In the course of my own inspections I happened to notice several holes through the roof sheathing I could see daylight through. This was kind of disturbing as it was supposed to be all Graced up and sealed by now. Evidently while it can seal *around* a penetrating fastener, it can't self-seal a hole left behind from removing one although the guys were pretty sure that it could. I went around in the dark attic and found and circled a bunch of these with a sharpie, figuring I'd need to watch those areas for water ingress -- there didn't appear to be any yet despite the Friday rain, but that hadn't been too heavy.

Next section   (10a)
Index

_H*   121122