
|
Our illustrious chairperson for this year's
convention
began some of the early
committee meetings by saying that she not only wanted a great con, she
wanted a pony. It would therefore be a moral imperative for the crew to
come up with some creative ways to get her a pony. Since I'm a lighting
guy, one solution was obvious: a pony template to drop into a stage light
and project on the backdrop. Unfortunately it didn't become obvious to me
until the I had everything *else* dealt with and packed up ready to go, so
this was very late in the game for me.
But where to find a pony gobo on *really* short notice, with only a day and a half or so before heading for the hotel? Looking through the selections at Apollo and such didn't really show anything suitable, but some of the other horse-related items show the general idea on high-contrast artwork designed to be cut out of metal and still give an immediately recognizable image. Most likely I would have to simply hack and slash my own out of sheet aluminum. The next problem was to find an appropriate image to rework into a gobo design. [Each small picture links to a larger one.] |
|
|
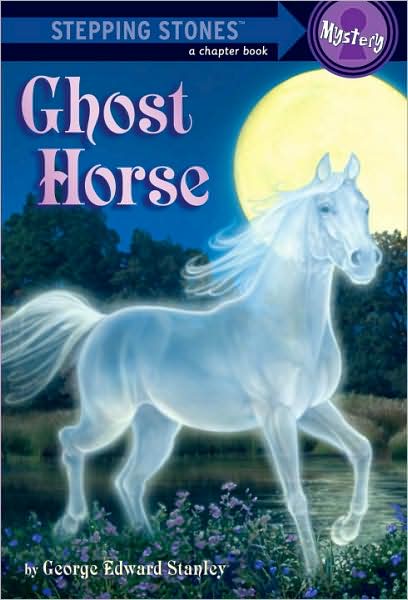
Finding an old pie-tin type of aluminum pan and an existing gobo for sizing were the easy parts. A good image would be a different story. After grubbing through countless "my little pony" sites and online offerings of equestrian-related childrens' books and not liking any of what I found there, I stumbled across this. This seemed like the best thing -- almost a side view, a very recognizable shape with a strong hint of action, and cute perky little ears. Clearly a happy, bouncy, pony-shaped basis to work from. I threw it into GIMP and started fooling around with selecting the outline and turning it high-contrast black and white. |

|
Just having an outline of a pony's perimeter wouldn't quite carry it; there needed to be more indication of the major creature features. I couldn't just draw a few, because everything dark has to ultimately connect to the outer mass of black. Artwork for a gobo is fairly specialized because there cannot be any "floating islands" of metal, and where internal features connect to the outside must be done in a way that flows well with the overall image. I brought up a couple of other gobo designs to stare at as examples, showing various ways that shadows and contours can be "cheated" to reach where needed. |
|
Mine was already starting to look fairly reasonable, but needed many tweaks.
The near eyeball was the most problematic, as it's pretty isolated in the
original picture. Eventually I realized that the corner line of the face,
reflecting a feature of the skull underneath, could be roughly followed and
joined at the back of the jawline, providing a little place to hang the
"eye" from. I had to take a SWAG at the lower feet, since they're buried
in the grass in the original. The other body lines were pretty obvious
from the picture, so I just drew them in with a little taper. A calculated
risk: little tiny points in a gobo tend to oxidize and/or melt away in the
extreme heat found at the focus gate of a theatrical light, but I've seen thin
aluminum pie-plate material hold up surprisingly well in other productions,
so still thinking that those tiny details in Apollo's "wild horse" would no
way hold up for even a minute at full, it was worth trying.
[And where the heck do you find a horse with cloven hoofs?? Someone on their art staff needs to get out more.] | |

|
Once the artwork was done, next step was to print it at the correct size as a cutting guide. Now, access to CNC-driven plasma or laser tables or a water-jet machine would have been geeky and lovely, but such is not to be readily had while hunkering down at home waiting for a snowstorm to play itself out. Every millimeter and detail of this would have to be lovingly hand-cut with an x-acto knife. To transfer the outline to the metal the easiest thing to do was tape the paper down, and then poke pinholes along all the edges with the whole shebang sitting on a block of wood. |

|
The paper template wound up entertainingly perforated, and there's my image clearly and accurately impressed into the metal. |

|
I've cut simple gobos out of pie-tin before, but nothing with anywhere
near this fine detail or any *curves* in it. I wasn't even convinced that
this was going to be *possible*, so as an initial trial I cut out a
relatively simple part to see how accurate I could make it. Under a
magnifier and being careful not to pull sideways too hard, I was pleased
to find that the foreleg piece was quite easy to do, no distortion or funny
shards of metal hanging off the edges and the little fetlock detail
actually looked like I intended. Okay, so the rest of this actually
seemed feasible at this point, so I gave the blade a quick pass on a
honing stone and got to it.
|

|
... time passes ...
After getting through the more tricky sections, I was starting to breathe a little easier. The zigzags of the mane and tail were somewhat involved, but the rest went pretty smoothly. |

|
Done! I found having a "pony" and a "not pony" rather entertaining.
Trying to pick up the cutouts all together onto a piece of packing tape to keep as a memento of the work totally failed due to static electricity. This was in January, after all, and they were sitting on a plastic hard-drive enclosure. The pieces came flying randomly up and stuck to form an extremely, uh, impressionistic horse-like figure and were simply discarded. |

|
The gobo doesn't look half bad against a background. The outer nostril and mouth are a little funky, but there's no fixing that at this point other than a tiny bit of suggestive re-bending if I dare. The thing is *very* fragile, and after cutting the rest of the sheet away to make it more gobo-sized I made a secure little carrier out of stiff cardboard to stash in my color box. |
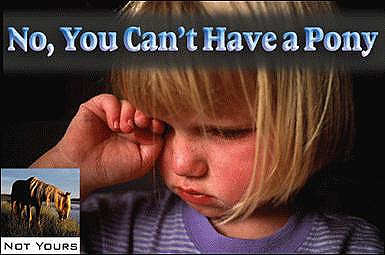
| So, why all this effort? Because we don't want our hard-working con-chair to wind up looking like this. Which she may regardless by the end of the weekend, but for different reasons. |