House energy retrofit project 16

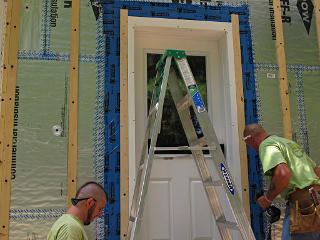
After getting the front door back in and other minor tasks done the guys decided to call it an early Friday afternoon, which was fine by me because it let me put all this in my own rearview mirror that much sooner and head off to hang out with friends at the Old Home days weekend in Hancock NH. Nice and relaxing, and some of the folks present seemed pretty interested in the project so I gave them a little slideshow of the work to date.

    Day 17

In the process of helping work on the front door the PM had developed a clearer idea of what he wanted to do about the front stoop, a massive monolithic solid block of concrete that wasn't about to be moved without Really Big Tools. He had dealt with this sort of thing before, and there was no need to try and shift it if enough space could be created to access the sill and block wall behind where it abuts the house.

So the first guy to show up early Monday morning was a concrete-cutting specialist, with instructions to make an appropriate slot in the stoop.


[Click any image for a larger version.]
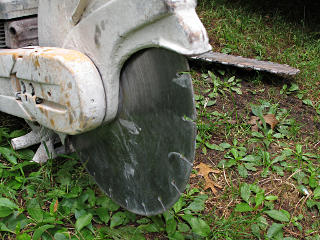
Concrete saw blades Concrete saws don't really have sharp edges -- where pointy parts would ordinarily be they have nubs covered in diamond grit. And I was hitherto unaware that *chain saws* for concrete even existed, but here it was.

Starting the circ saw Circ blade goes pretty deep
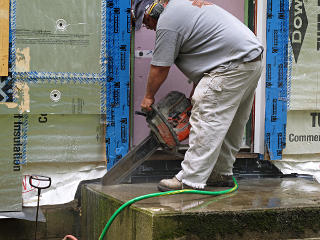
The crew noodled the needed space for foaming and drew a cut line across the stoop. The concrete guy was a little skeptical about some of the dimensions as this was *so* close to the front door, but figured he'd give it his best shot and fired up the rotary saw. That thing is a snarling monster when it's running! This would give him the straightest first cut at the outer edge, and then everything farther in and lower could be a little rough.

The rotary got in pretty deep, but not quite down to where they needed below the level of the foundation cinderblock.


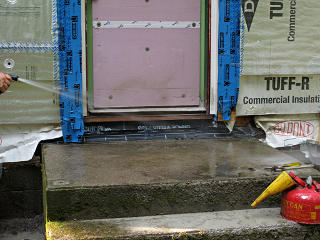
Hosing off first batch of muck Concrete cutting requires a steady flow of water for blade cooling, as it's basically a grinding operation. He was okay for the first couple of cuts with his little pump tank, but when he needed to wash things down and make more cuts I got my hose out for him.

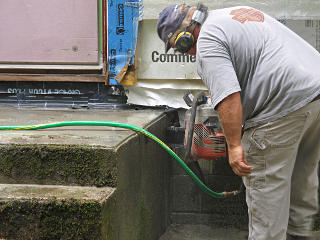
Concrete chainsaw Next came a bunch of work with the chainsaw. In his own words: "this is a really dangerous tool" ...

A nice straight slot The slot from the rotary served as a nice straight guide for the deeper cut, similar to how the builders would start a foam cut with a straightedge and follow the same line with multiple freehand knife passes and still come up with a precise edge.

Deep enough yet? Now he was just about at the right depth on the first slot.

Starting second slot Near end of second slot
The piece to remove was a little too thick to break out easily, though, so he started a second slot behind it. No chance of getting the rotary in this close, so it was all chainsaw work. With the water splash and the saw's exhaust right next to the wall and door, things started getting pretty crapped up. No help for that.

Chain became very loose With all this mileage on the chainsaw he had to stop and tighten up the chain a couple of times. It, or more properly the nuts holding the bar, loosen up pretty quickly with all the vibration and stress.

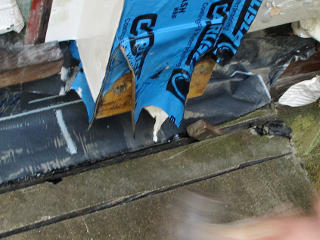
Thin enough pieces to crack out Finally the two slots were completed to the right depth, at the expense of the engine exhaust having melted some of the Carlisle [that they'd just added the previous workday!] and wet concrete dust thrown everywhere. I was astounded, along with pleased, that my foam job on the door had remained mostly unscathed -- not melted, at least, although he managed to ding it up a little. Not that bare XPS is very impact-proof, so we can't fault him on that.

Hosing down more muck With cutting itself done, the whole area was hosed clean before proceeding to the next step.

Concrete muck running down Playing with concrete muck
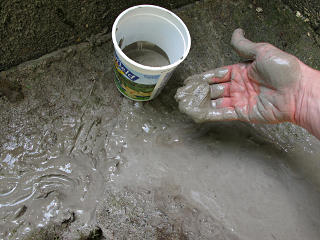
It had generated a lot of goopy concrete-dust muck, which ran down the old water channel a ways. I collected a little of it to study later.

Water leaking into basement More importantly, though, the introduction of bulk water into the gap between the stoop and the foundation had brought a little trickle of water into the basement under the front wall. Right here I determined that water must absolutely be prevented from getting into that space behind the stoop at all.

Cracking cuts out with wedges Cut pieces removed
With a couple of taps on a wedge, the pieces around the cuts started to break out surprisingly easily.

Slot mostly open Slot done
It wasn't much more work to remove the rest of the material and chip a little more out of the bottom to trim it up. They borrowed my masonry chisel for most of this. By the time the cutting specialist packed up his stuff and got on the road, the slot was ready for the door and wall around it to be finished. The whole area looked like a mess at this point, but it would all get cleaned up and any damaged water barriers repaired.

We found that there were a couple of token pieces of rebar between the stoop and the foundation, but they were pretty loose and not really doing much. A couple of them had been cut anyway. There were also some plain ol' rocks visible inside -- the stoop had likely been built in the typical fashion of setting up the form, tossing whatever random crap was laying around the original construction site as fill -- rocks, broken cinderblocks, whatever -- and then pouring the concrete in on top.

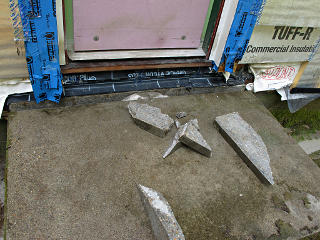
They were about to just huck the removed pieces of concrete into the dumpster, but I intervened and saved most of them for later.


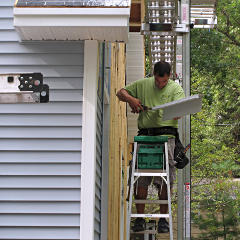
Coil-stock trim parts ready In the meantime, work was progressing on the wing-wall roof returns which involved making some slightly complex pieces from coil stock. The inward sides had already been covered, now we needed the rest.

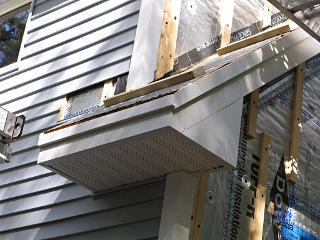
Fitting up returns This all got fit up around the framing to box it in.

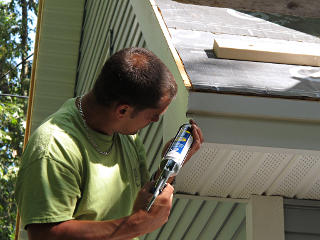
Caulking the trim joints As a final step, white caulk was applied to some of the seams to help water-sealing and cover any exposed metal edges.

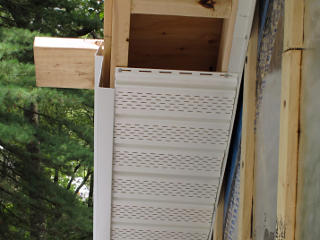
Return all boxed in Soon both returns were done, and the lower parts of the rake trim metal had been applied going up from there. Flashed *over* the parts lower down, of course...

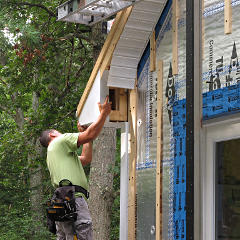
Rake and shadow board trim going on This shows how the rake trim was custom-bent to fit around the shadow board. Pretty typical in roof trim work nowadays.

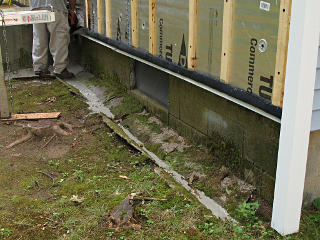
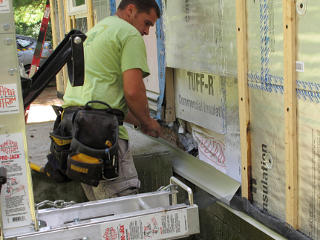
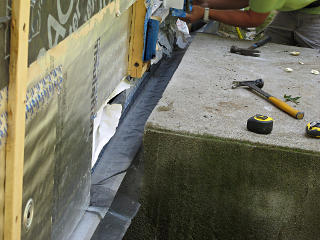
New approach to sill covering Sill protection cross-section
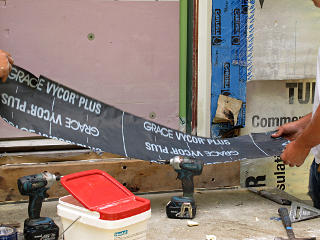
Then it was time to revisit the sill problem. The conclusion seemed to be that simpler was better, and they decided on a simple L-bend to cover the exposed sheathing edge and mate up with the wall and the under-foam flashing, fastened to the latter with pop-rivets.

I have no idea if they used steel or aluminum rivets...


Precaulking L-bend pieces Healthy beads of caulk was pre-applied to the faces of each piece, with the expectation that this would also help with air-sealing at the sill which is usually a huge infiltration area in most houses.

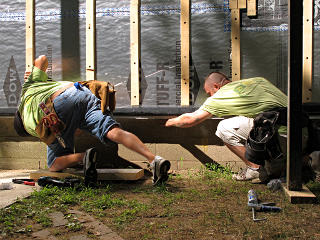
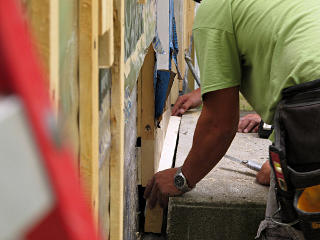
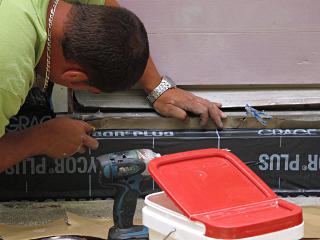
It's like a dance Some entertaining contortions were needed to actually attach the stuff.

Scrap pieces of polyiso were often used as knee pads on this job in general.


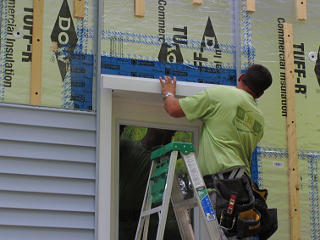
Different piece for window opening At the window openings, whether they were still windows or my block-off panels, an extra piece was put in to cover right up to the frame.

This is the east-side window, about two inches above grade, and it's easy to see how splashed-up it gets -- compare this with the shot in part 03 right after I added the flashing.


Sill protection in place So the gable-wall sill problem was finally solved. Later on I went back over all this and added more caulk at any obvious gaps, because I wasn't sure that they'd put enough on the pieces to bridge to all the cinderblock roughness before applying them. Why leave an ant-sized hole into something with lots of tasty wood behind it??

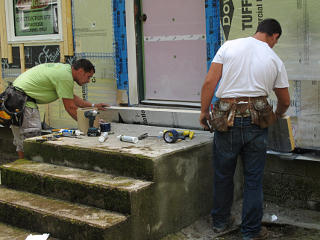
Caulking sill past front stoop slot Back to the front door, now that the stoop slot was all set. The sheathing here looked surprisingly healthy despite the fact that the front door area had been observed swarming with ants, so we went with it. I guess they'd gone up instead of down. Here was one of the main reasons for cutting away the step in the first place -- the obvious air passages in under the sill to caulk up would have been unreachable otherwise.

Trim metal into slot Screen into slot
Reconstruction of the area proceeded in the standard fashion from there, with the flashing and bug screen going on first and joining with the open ends of the existing material on either side.

Foam into slot Now, foam could fit in behind the slot and get the whole wall consistently insulated.

Bottom door buck The outer foam layer got added with the standard buck construct under the door.

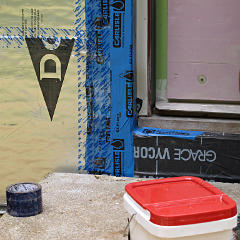
Door buck flashing Lapping the layers
The buck got flashed down, and the little edge of the under-sill flashing peeking out stuck down over that.

All flashed up The melted flashing was cut away and new Carlisle went down over that whole area and the side trim and over the completed sill flashing.

Wall surface finally flat Finally, the wall plane was really flat all the way around the door.

What never really received any consideration was the rest of the slot in the stoop, leaving a fairly big hole under the sill flashing metal at each end which I'm sure various wildlife would love to call home. Near-term, I stuffed both of them with fiberglass but ideally I would have liked to see some professional-grade solution to closing that up with something waterproof but vapor-permeable.


Tiny shims for side door trim The side door needed attention as well, and over the course of the same day progress was made toward getting it done. First headscratcher was to get the opening trimmed out. While the fellows like doing the "outie" windows and are best at integrating them into the drainage plane, the inherent "innie" nature of a door required a bit more thought about water control. They would have had to do this on every window if they'd been innies, which would have been a PITA.

The pictures about this cover a longer span of time than one might expect, which explains how siding magically appears on the left side midway through. I figured I'd just collect most of the side-door dealings in one place.


Nailers and trim Jamb extensions made from Azek were built around the opening, and typical strapping nailers added to the wall next to that.

Sillboard extender doesn't fit The doorframe had come with the inner aluminum sill plate seen here, which has a sort of dropoff lip at the outer edge. They tried hooking an extension sill underneath that, but it wasn't quite working.

Notch isn't made for nesting Here's why: the notch in the extension piece is *not* designed to accomodate the lip in the other one, it's too small. I'm not sure what this aftermarket thing is supposed to mate up with; we sure didn't have whatever it is.

Banging down kick panel Side door jamb extension trim
They gave up on that for the moment, figuring to leave it to the "sill wizard" guy who happened to be offsite that day, and continued on more of the jamb and trim. A kick board was persuaded into place under where the sill would go, shimmed out a little to match the plane around the door. Then they made some metal trim pieces to apply to the sides.

This was a little perplexing, as it looked like indecision between using Azek for trim or metal for finish trim, and I overheard a couple of minor disagreements on this. Trim on both doors seemed to get re-done a couple of different ways before everyone was happy with it. For the most part they seemed to wind up using the Azek as nailers -- that's fine, it's non-load-bearing and rot proof.


Forming side door head trim Fitting head trim
Either way the door would need its head trim, and at this point the consensus seemed to be metal trim so that was shaped appropriately and installed.

Backfilling concrete-muck areas Later on in the day I realized that the guys who had been working on the front door had stepped in the sticky concrete muck and were tracking it around the rest of the place on their shoes, getting it all over their scaffolds and in the basement and wherever else. It wasn't a lot, but to head this off as further front-area work was done I scraped up as much as I could and threw some plain ol' dirt down over the remainder to sort of encapsulate it. Problem solved.

Next section   (17)
Index

_H*   121204